I wanted to get a new post in today just to keep things fresh. I am currently working on my movie submission for the Home Haunters Association Home Haunt of The Year Contest. You can visit their website here: http://homehauntersassociation.com/
They have quite a few submission already and many of them are really good. I have always admired the Davis Graveyard as well as the House of Stonewell which have both submitted videos and pictures for the contest. I wrote about the Davis's on here awhile back and added their link to my page in case you want to take a look for yourself.
I'm hoping my entry will be interesting. I haven't had much practice making videos and rarely get the chance to video my haunt (which is a bummer) but it's something I want to start doing more of.
Well on to the post!
As my post title says I'm working on props and this is part 1. I will probably jump around to various props as I am working on them because I am doing a few projects at a time but I will definitely be sure to show everything from start to finish. So today I am starting with a new character prop that I had meant to work into the haunt this year but he only made it as far as a static head with glowing eyes.
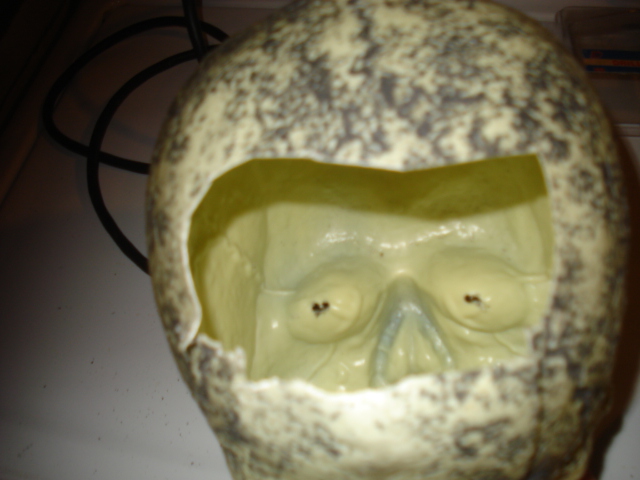
I bought a cheap plastic skull from Halloween Adventure, the skull cost maybe $8. It's lightweight and hollow inside which I liked. It would be a great skull to make foam molds from if you wanted to and I might just try that in the future.
Now I don't really like the paint job so the goal here is to re-paint and corpse this skull and give it more texture but what I have started to do is give it some life by adding some eyes from Hauntbots: http://www.hauntbots.com/
Hauntbots makes all sorts of great stuff but what I liked the most where there eye fx eyes which cost $20.00. I've posted a picture below of them on their own. What I love the most is these run off a small 9V battery which can be easily tucked away and hidden in your prop and you also have the freedom to place these eyes anywhere you want without having to use any adapter or being restricted to place the prop near a wall outlet. I have found these same types of eye fx online being offered by other vendors and most require you to purchase an adapter that needs to be plugged into a wall outlet and to me that just restricts the use of them. The other great thing about these eyes is that there are various settings for them such as an eye blink, fade in and out, strobe or just a constant light eye so depending on your use you at least have some options.
So far I have drilled two small holes in the from on the eye sockets of the skull which I ran the eye fx eyes through then in the back off the skull I have opened a small compartment which I can lay the cables and battery. I'll end up sealing this part back up when I'm done but will be sure I can easily open it back up to change out the battery if needed.
Stay tuned for more progress. Next up on the list are some sculpted Gremlins!


0 comments:
Post a Comment